How We Make Photo Canvas Prints
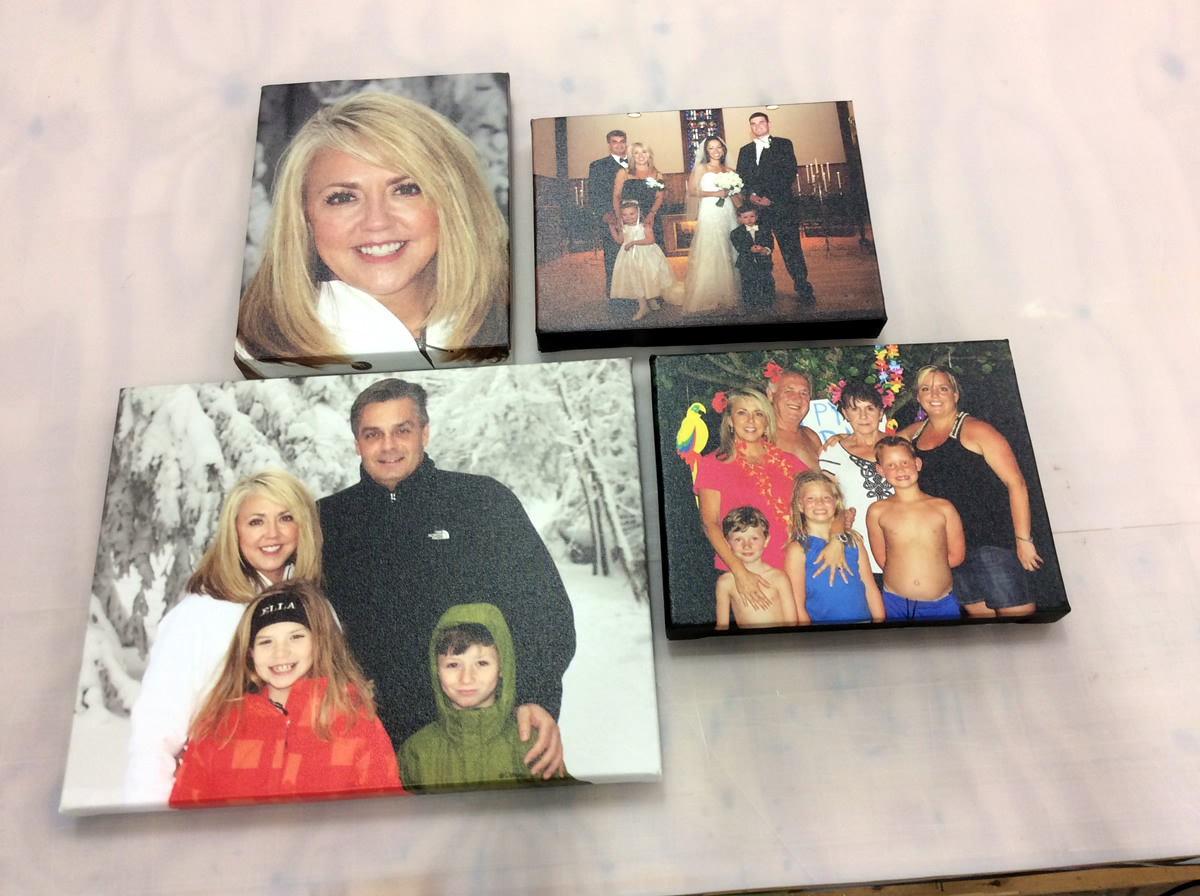
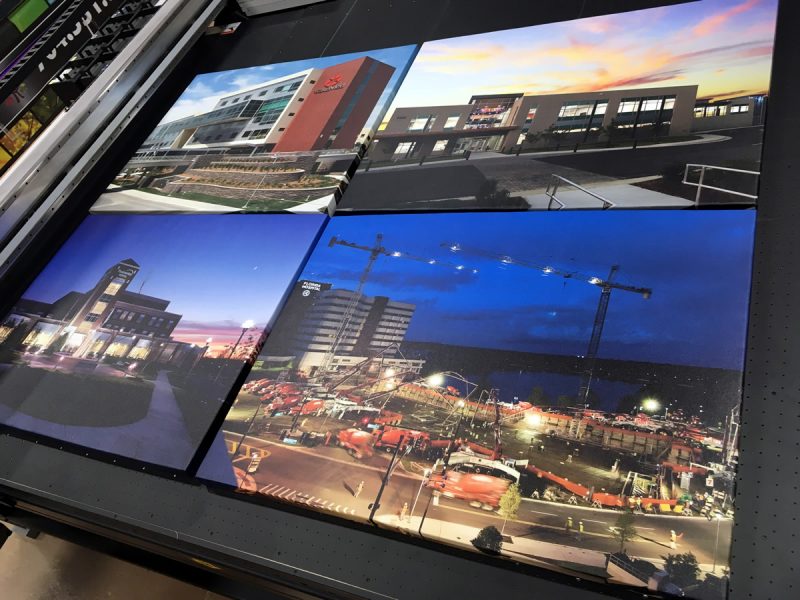
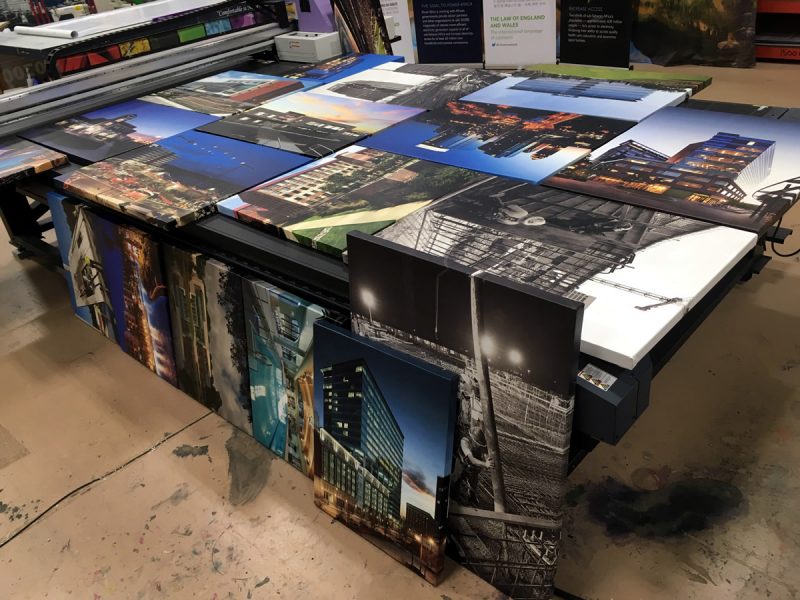
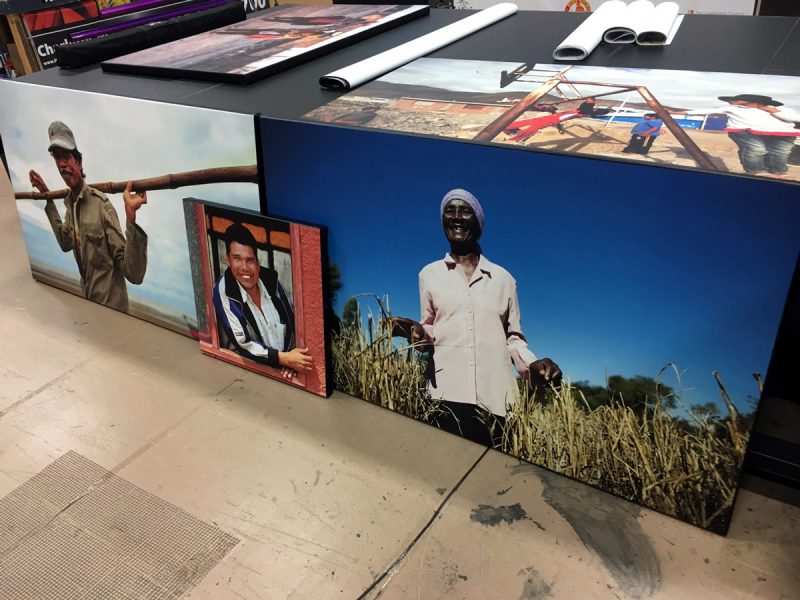
In this video, Tony Conner, Heritage Signs & Displays Expert, shows how we make photo canvas prints here at Heritage Signs & Displays. We custom cut each frame to meet the specs of every canvas print, we never use pre-fabricated frames.
Step 1: Align the print evenly with the frame, the canvas is printed with enough “bleed” to cover the sides of the frame.
NOTE: Tony doesn’t slide the print around on the protected work table, this protects the print from scratches.
Step 2: Base tack the canvas to the frame, this sets the print in place and prepares it for the tension.
Step 3: Starting at the opposite side of the base tacks, Tony uses a canvas stretch tool to provide tension to the printer, then takes it down.
Step 4: Tony tacks all 4 sides, leaving room to make the folds (pleats) on the print.
Step 5: Folding the corners is important for maximum appeal. Tony describes why he makes the folds at the top and bottom, as well as how he does it.
Step 6: Trim all excess canvas, wrap the print in plastic cellophane, then bubble-wrap and finally the custom made shipping container.
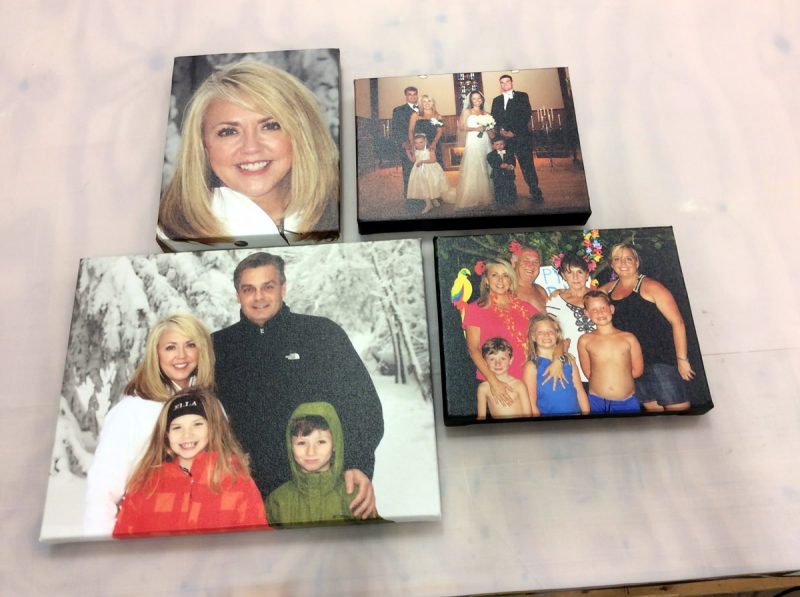
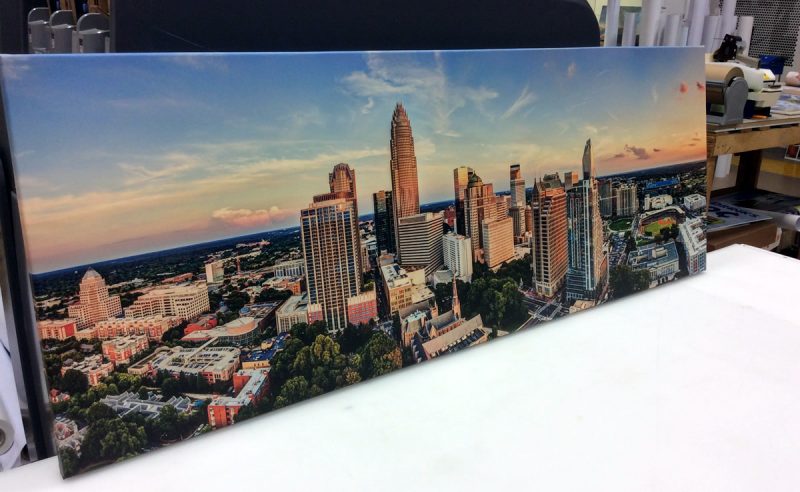
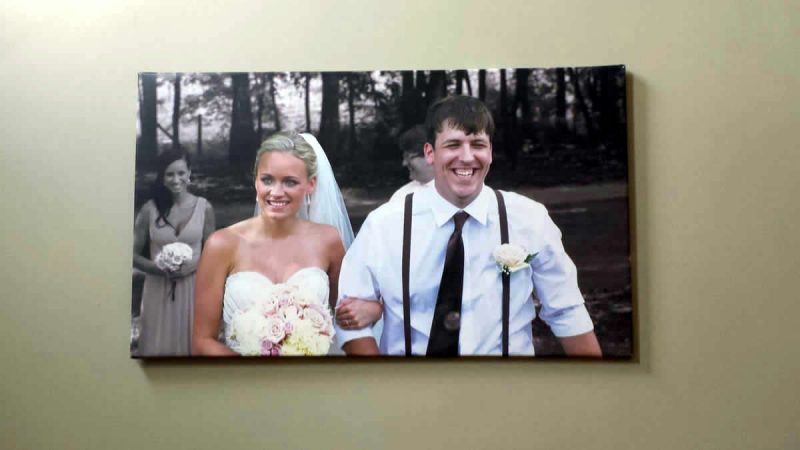
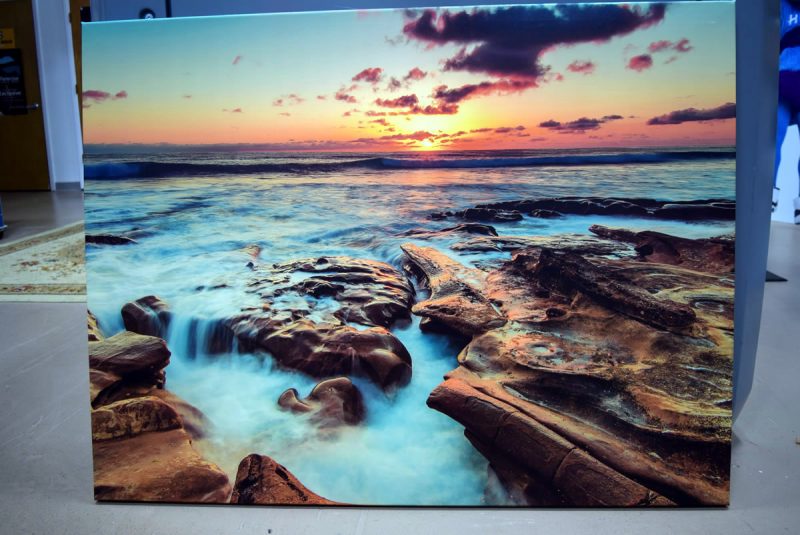
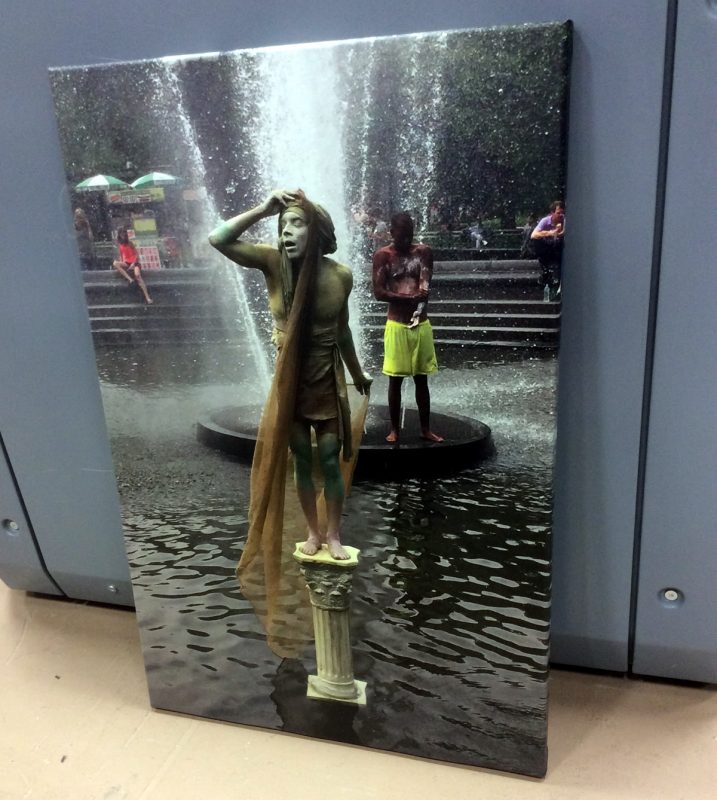
Photo Canvas Prints are exceptional lobby signs, and home interior decorations. We can take your personal photo to make a personalized print of your family, pet or favorite vacation spot.


